Expert Plumbing Repair: Fixing Leaky Pipes
Expert Plumbing Repair: Fixing Leaky Pipes
In-home maintenance, few things can be as frustrating and potentially damaging as leaky pipes. Whether a slow drip or a sudden burst, plumbing issues can disrupt your daily life and wreak havoc on your property. But fear not, for in this guide, we will explore the art of plumbing repair and how to fix those troublesome leaky pipes effectively.
Identifying the Culprit
The first step in any successful plumbing repair mission is to identify the source of the leak. This might seem obvious, but it’s crucial to pinpoint the issue’s exact location before you can proceed. Common signs of a leak include damp spots on walls or ceilings, water stains, and a noticeable drop in water pressure. Once you’ve located the leak, you can move on to the next step.
Gathering Your Tools
Before getting your hands wet, ensure you have the necessary tools and materials for the job. You’ll typically need a pipe cutter, pipe wrench, plumber’s tape, and replacement pipes or fittings. Safety should also be a priority, so don’t forget your safety goggles and gloves. Everything on hand will streamline the repair process and ensure a smoother experience.
Shutting Off the Water Supply
Safety first! Before you attempt any plumbing repair, turn off the main water supply to your home. This will prevent further water from flowing into the affected area and give you a dry workspace. You don’t want to risk getting drenched while fixing those leaky pipes.
Replacing the Faulty Section
Now that you’ve located the leak and shut off the water supply, it’s time to replace the problematic section of the pipe. Using your pipe cutter, carefully remove the damaged portion, leaving enough room for the replacement. Once removed, clean the edges of the existing lines to ensure a proper seal.
Applying Plumber’s Tape
Plumber’s tape is your best friend when sealing pipe joints effectively. Wrap a few layers of this tape around the threads of the new pipe or fitting to create a watertight seal. Ensure it’s snug but not too tight to avoid damaging the lines.
Connecting the New Pipe
Now, carefully insert the replacement pipe or fit it into your created gap. Use your pipe wrench to tighten it securely, but again, be cautious not to overtighten, which could lead to more issues down the road. A snug fit is all you need for a leak-free solution.
Testing the Repair
With the new pipe in place, it’s time to turn the water supply back on and check for leaks. Keep an eye on the repaired area for a few minutes to ensure everything is dry and secure. If all looks good, congratulations! You’ve completed your plumbing repair.
Conclusion
In-home maintenance and plumbing repair is a skill worth mastering. Leaky pipes can cause significant headaches, but you can tackle this issue head-on with the right tools, knowledge, and patience. Stay safe, turn off the water supply, and take your time during the repair process. If you ever find yourself in doubt, don’t hesitate to call a professional plumber to handle the job. Your home and peace of mind are worth it.
Call Us:
561-692-6002
GET FREE ESTIMATE!
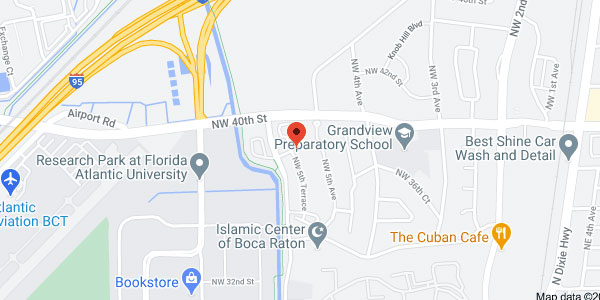
Our Location:


Submit your review | |